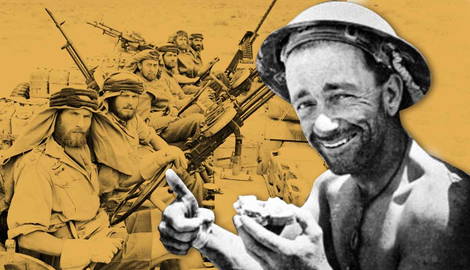

At the onset of the Second World War, European powers controlled the entirety of North Africa. The region’s vast deserts would become an inhospitable battleground as the war raged across the dunes. Victory in the North African Campaign was of vital importance for the Allies, as it would allow them control of the Suez Canal and key supply routes to British colonial territories. Fighting in the desert’s extreme conditions would take many forms, from large-scale tank battles to ambushes and sieges.
1. Battle of Sidi Barrani
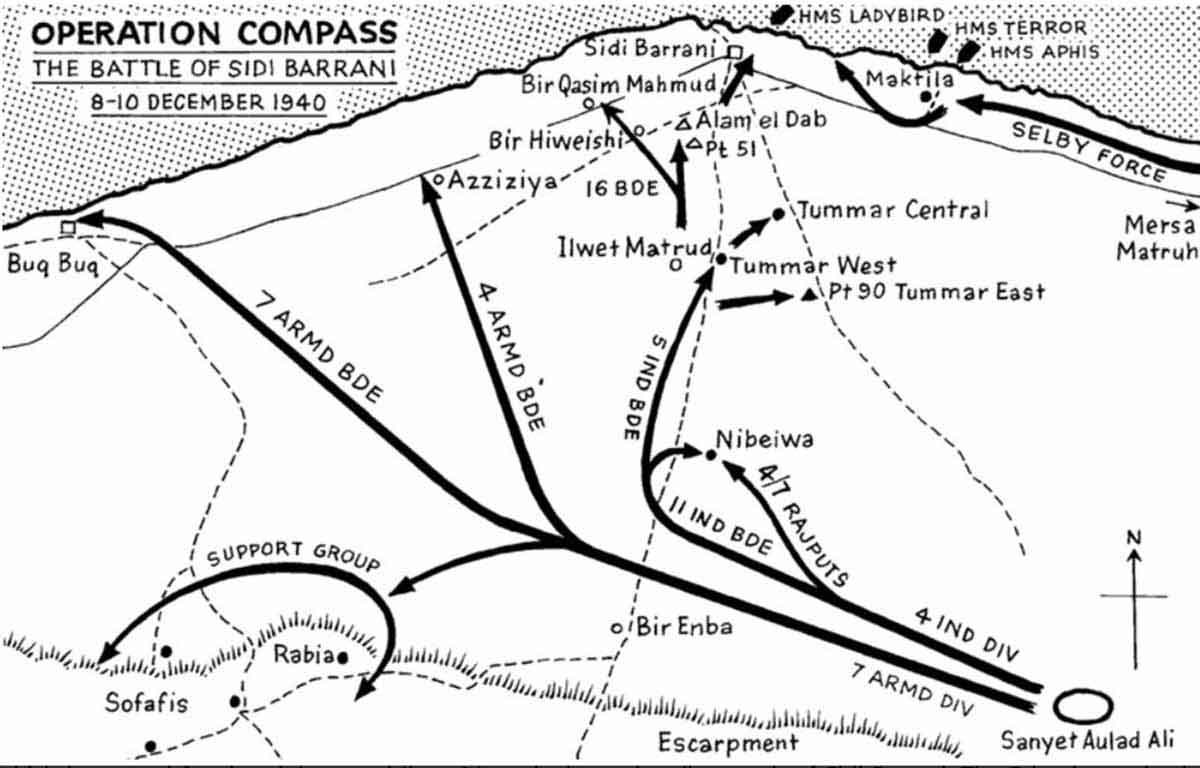
In September 1940, Italian forces situated in Libya launched an offensive into British Egypt. The Italian 10th Army held its position at the coastal town of Sidi Barrani, located 50 miles inside Egypt. By December, British and Indian forces were prepared to launch their first counteroffensive against the Italians, known as Operation Compass.
British patrols had identified a fatal flaw in the Italian defensive line, a 15-mile unguarded gap. British General Sir Archibald Wavell decided to exploit this weakness despite the fact that the Italian forces numbered 60,000 compared to the Allies’ mere 36,000.
The British 7th Armored Division, alongside the 4th Indian Division, were sent through the gap. The 7th Armored Division continued northwest to cut off the coastal supply road to Sidi Barrani and encircled the Italian forces. The Indian Division turned northwards and captured numerous Italian encampments.
Meanwhile, as the 40,000-strong Italian force at Sidi Barrani faced constant naval bombardment, a second Allied force pushed westward along the coast towards the town.
Fighting ended on December 11. The Italians surrendered, and their remaining 38,300 troops became prisoners of war.
The Battle of Sidi Barrani was the opening battle of Operation Compass and was a major victory for the Allied forces in North Africa, who now found themselves on the front foot against a retreating, diminished Italian force.
2. Battle of Beda Fomm
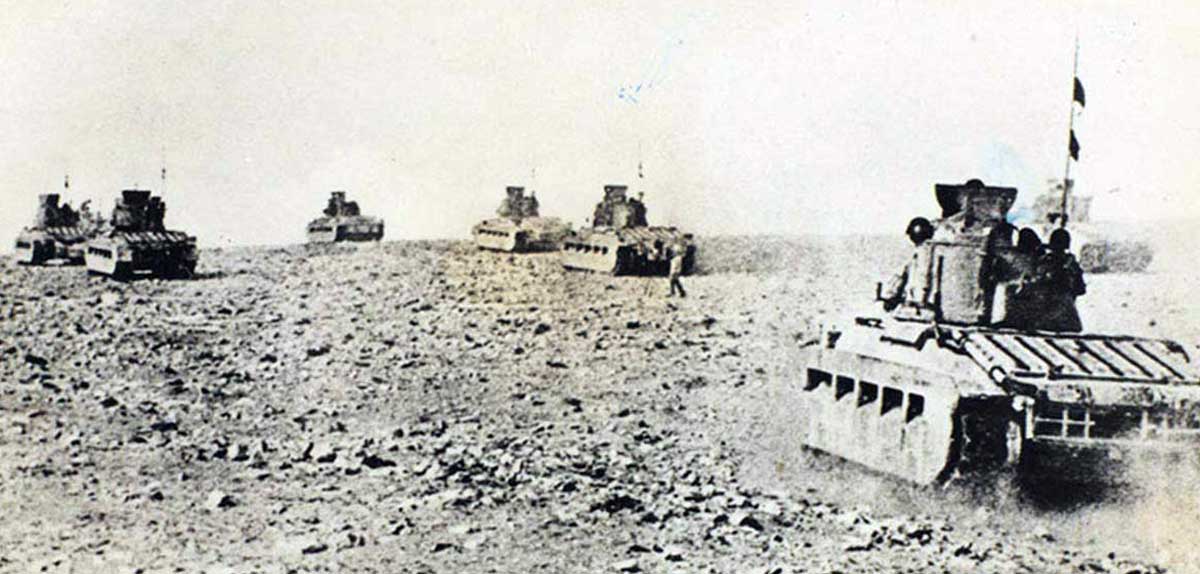
Allied forces advanced at a tremendous speed during Operation Compass, forcing the Italians into successive retreats. British intelligence learned that the remnants of the Italian 10th Army were retreating south from the Libyan city of Benghazi via a coastal road.
The 7th Armored Division, under the command of Major General Michael O’Moore Creagh, were ordered to intercept the Italians. In an audacious maneuver, the Allied forces cut across the desert and managed to overtake the Italian forces, which were being hotly pursued by the Australian 6th Division.
Unbeknownst to the Italians, the British forces ahead of them had set up numerous roadblocks and were lying in wait. On February 5, 1941, the Italians walked into the trap. Fighting raged for two days as the Italians attempted to break through the British lines. However, the pursuing Australian force rapidly closed in on the Italians from behind.
Eventually, the Italian 10th Army was forced into submission. Twenty-five thousand troops were taken prisoner, and 107 tanks were captured. The Battle of Beda Fomm was a decisive defeat for the Italians, and their total defeat in North Africa seemed imminent. However, the Italian capitulation at Beda Fomm signaled to Nazi Germany that they would have to enter the North African theater.
3. The Siege of Tobruk
Tobruk was the only deep-water port in eastern Libya. As such, it became a major objective of both the Allied and Axis forces. The Allies successfully captured Tobruk in January 1941 during Operation Compass.
However, following the defeat of the Italians, Germany had dispatched their forces to North Africa under the command of Erwin Rommel. Eager to make an instant impact in North Africa, Rommel made the capture of Tobruk his primary objective.
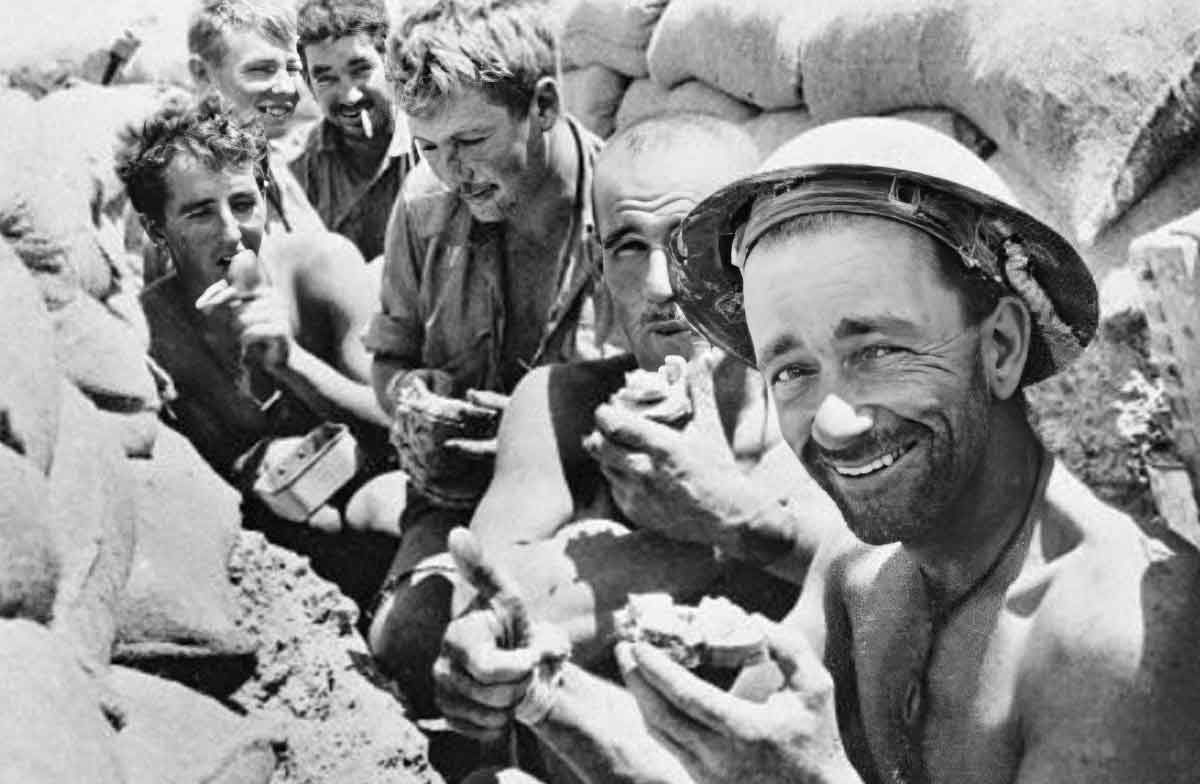
Tobruk was held by predominantly Australian forces. Between April and November 1941, the defenders repelled numerous attempts by Rommel to capture the city, garnering themselves the nickname, “The Rats of Tobruk.”
The Royal Navy was able to bring in supplies and reinforcements. During the autumn, a number of the Australian forces were relieved and replaced by British and Polish troops.
The Siege of Tobruk was eventually lifted during the Allied Operation Crusader, when forces from New Zealand reached the city on November 27.
4. Battle of Gazala
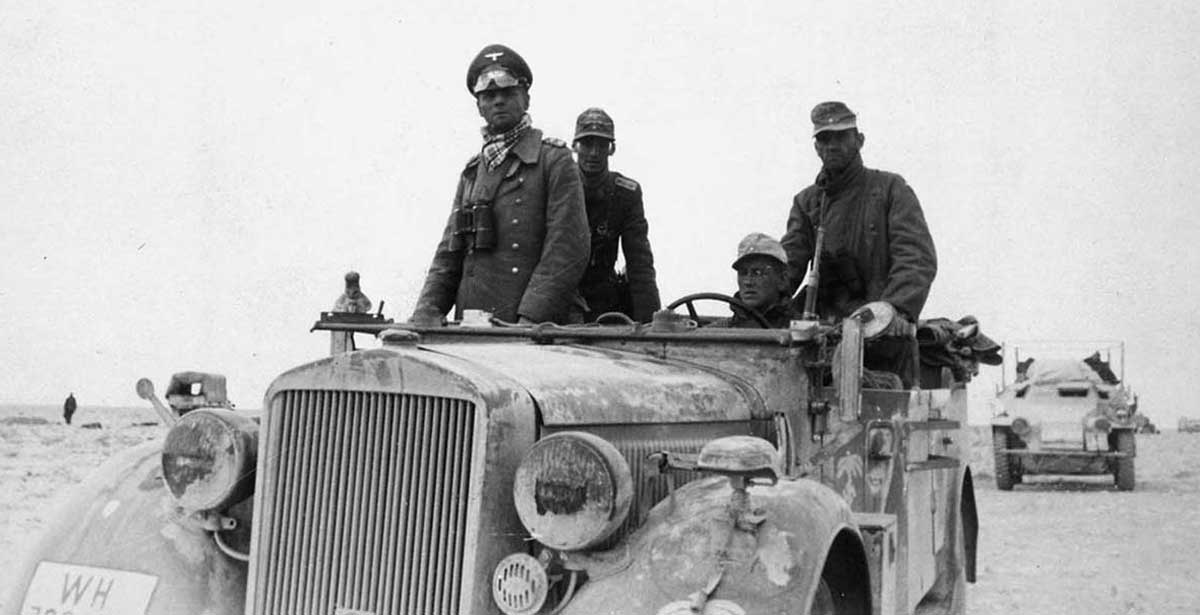
Despite being forced to retreat by Operation Crusader, Rommel was anxious to advance yet again into Libya.
Allied forces had constructed a fortified line at the coastal town of Gazala, which stretched 50 miles south to the town of Bir Hakeim.
Rommel devised an audacious sweeping flank attack. The Italian 132nd Armored Division would attack Bir Hakeim. Meanwhile, the 15th and 21st Panzer divisions would swing around the bottom of the Gazala line to attack the Allies in the rear.
The attack was launched on May 26, 1942. However, Italian forces met much greater resistance at Bir Hakeim than anticipated. Furthermore, Rommel’s forces struggled in the difficult terrain and soon found themselves trapped in an area nicknamed “The Cauldron.” Running dangerously low on supplies, Rommel ordered a second attack. The Axis forces captured two British tactical headquarters, resulting in a breakdown in Allied communication.
Rommel continued his attack, and by June 10, he shattered the Allied defenses. Approximately 98,000 Allied troops were killed, injured, or captured, and their remaining forces retreated all the way back to Egypt.
The Battle of Gazala is considered one of the greatest victories of Rommel’s decorated military career. The victory also allowed Axis forces to finally capture Tobruk.
5. First Battle of El Alamein
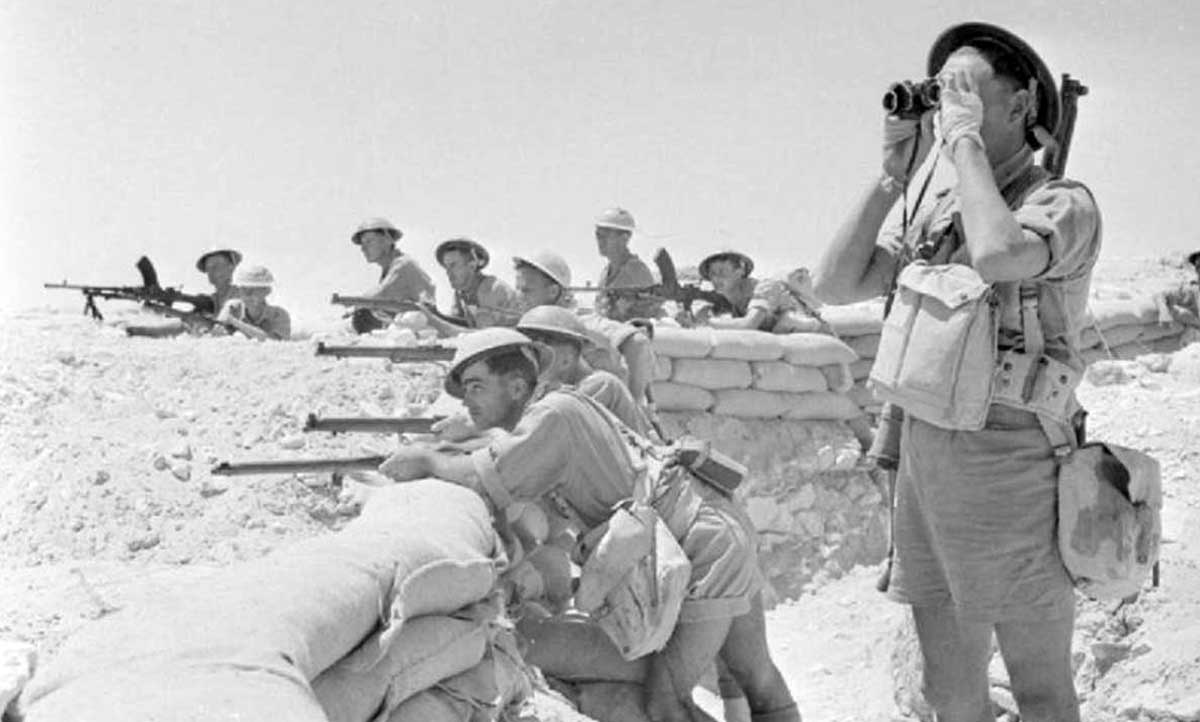
Following the crushing defeat at Gazala, Allied forces established defensive positions at El Alamein in Egypt and prepared for Rommel’s advance. Rommel launched a vicious attack on the Allied defensive line. However, the Allied forces, which comprised troops from Britain, Australia, India, South Africa, and New Zealand, successfully repelled the Axis attack.
After losing a significant number of his panzers, Rommel chose to end his offensive. Sensing an opportunity, British commander Claude Auchinleck decided to strike against Rommel, hoping to destroy the Axis forces once and for all. Despite gaining some minor victories, Auchinleck’s plan failed, and victory over Rommel seemed unlikely.
While the First Battle of El Alamein ended in stalemate, the Allies had successfully halted the Axis advance. Although Auchinleck had played a key role in the First Battle of El Alamein, he was replaced by General Bernard Montgomery.
6. Second Battle of El Alamein
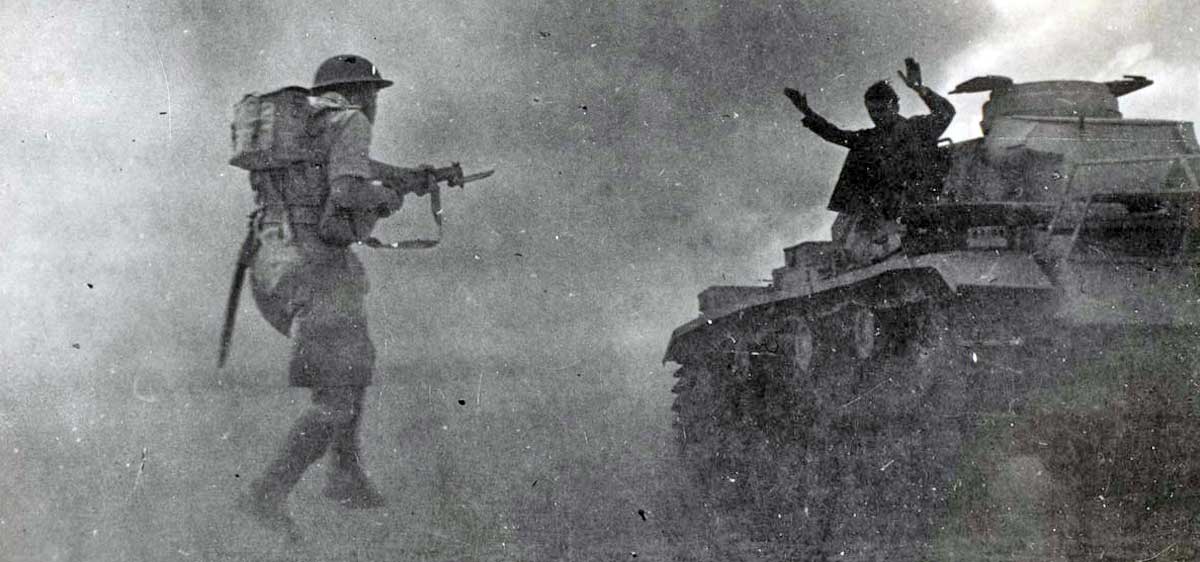
After assuming control of the Allied 8th Army, Montgomery worked tirelessly to reorganize and re-energize his forces in preparation for an offensive against the Axis.
The Second Battle of El Alamein commenced on October 23, 1942 with a dramatic aerial bombardment of German positions. A week later, Montgomery launched the second phase of the attack and sent infantry and armored divisions to break through the depleted German lines.
While the Allied advance was slowed by numerous attempted counter-offensives by the Germans, the Allies successfully opened a six-mile-wide hole in the German defenses.
Rommel, who had only just returned to North Africa after having required medical treatment back in Europe, could do little to prevent the Allied advance. Furthermore, the Axis forces were running dangerously low on resources as their supply lines became overstretched.
On November 2, Montgomery launched Operation Supercharge, a thrust that aimed to destroy as many German tanks as possible. The operation was a resounding success, and the Allies gained significant ground, destroying over 100 Axis tanks.
Rommel ordered a retreat as his forces capitulated, and the Allies opened a 12-mile-wide hole in the Axis defensive line. The Second Battle of El Alamein was a decisive victory for the Allies that resulted in the Allies pursuing the remnants of the Axis forces far into western Libya.
7. Operation Torch
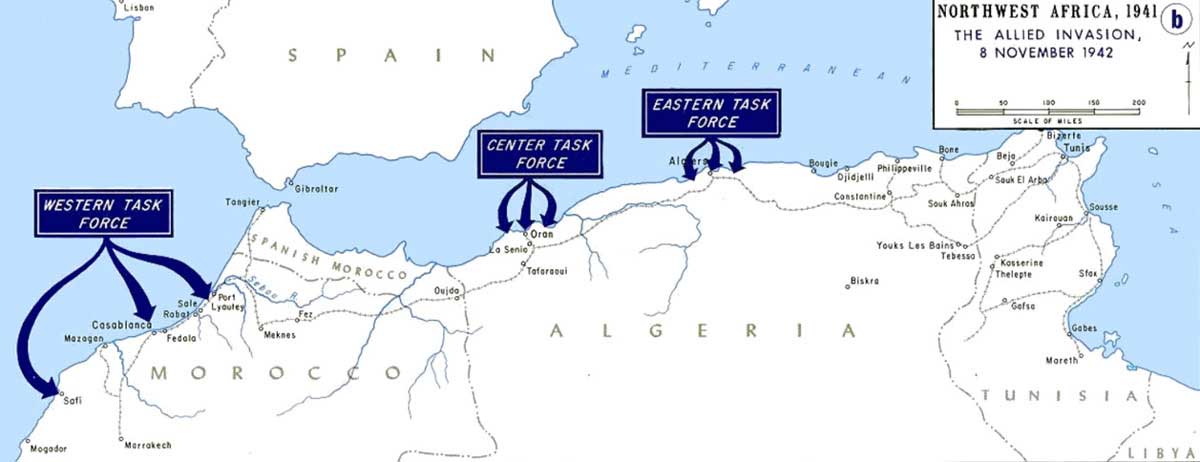
Following the capitulation of the Axis forces in Libya, the Allies launched an audacious invasion into Algeria and Morocco.
Operation Torch culminated in the amphibious landing of 107,000 Allied troops via 850 vessels. The landings, which took place on November 8, 1942, were met with resistance from forces of Vichy France, a puppet state of Nazi Germany comprising Southern France and their North African colonies.
The operation was devised as a three-pronged attack with Allied forces split into three forces. The Western Task Force would attack Morocco with the aim of capturing Casablanca. The Center Task Force would land at Oran, Algeria, while the Eastern Task Force would aim to capture Algiers. Once the task forces had successfully captured their objectives, they would regroup and march east to capture Tunis, thus creating a second front against the Axis forces in Tunisia.
Just two days after the landings, the Allies successfully captured their objectives. They faced relatively little resistance from the forces of Vichy France. Furthermore, members of the French Resistance successfully attempted a coup in Algiers, which significantly weakened the city’s defensive abilities.
The landings of Operation Torch proved to be valuable lessons for the later Normandy Landings of D-Day. The Operation’s success now meant that the remaining Axis forces in Tunisia were steadily being enveloped by the enclosing Allied forces to both their east and west. Victory in North Africa for the Allies was close.
8. Battle of Kasserine Pass
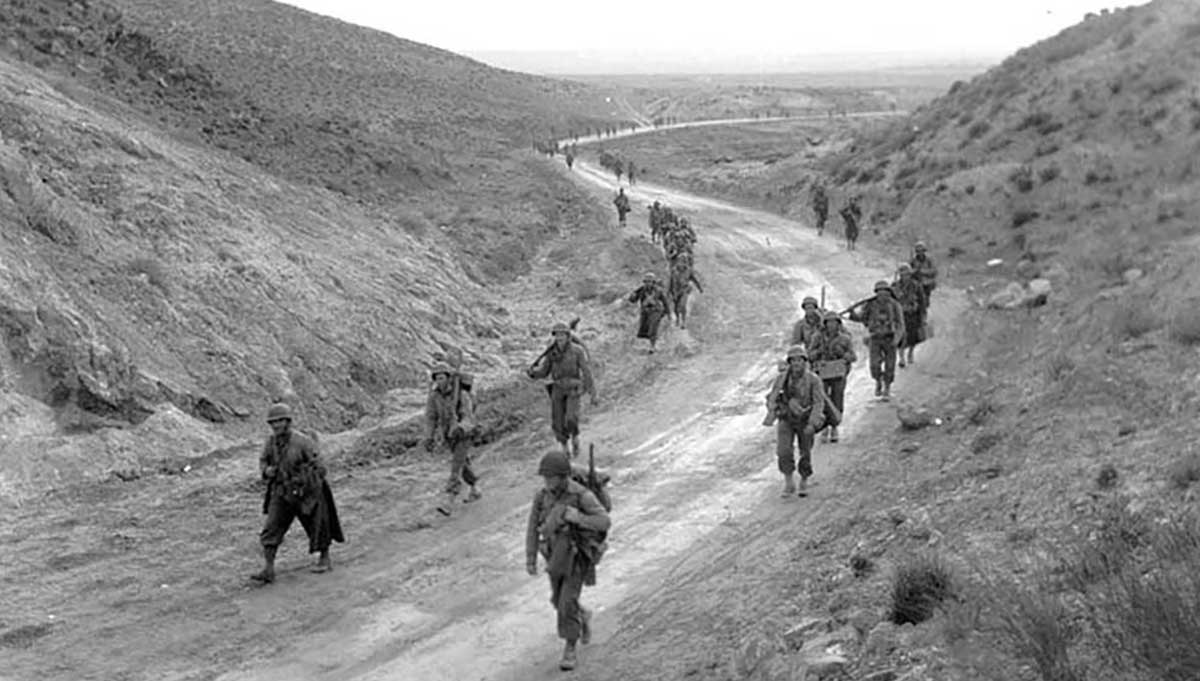
As the Allies closed in from both directions, the situation for the Axis was becoming increasingly severe. However, Rommel saw an opportunity to break through the Allied lines.
Kasserine Pass, a 2-mile-wide pass through Tunisia’s Dorsal Mountains, was Rommel’s objective. By punching through the pass, he hoped to relieve pressure on his lines and capture key Allied supply depots.
On February 14, Rommel personally led the 10th Panzer division through the pass and easily penetrated through Allied lines, forcing them to retreat. By February 21, the Axis forces were closing in on the town of Thala. However, Rommel was unable to take the town and instead elected to end the offensive, having relieved the pressure on his lines. Allied forces retook the pass on February 23 as the Axis withdrew.
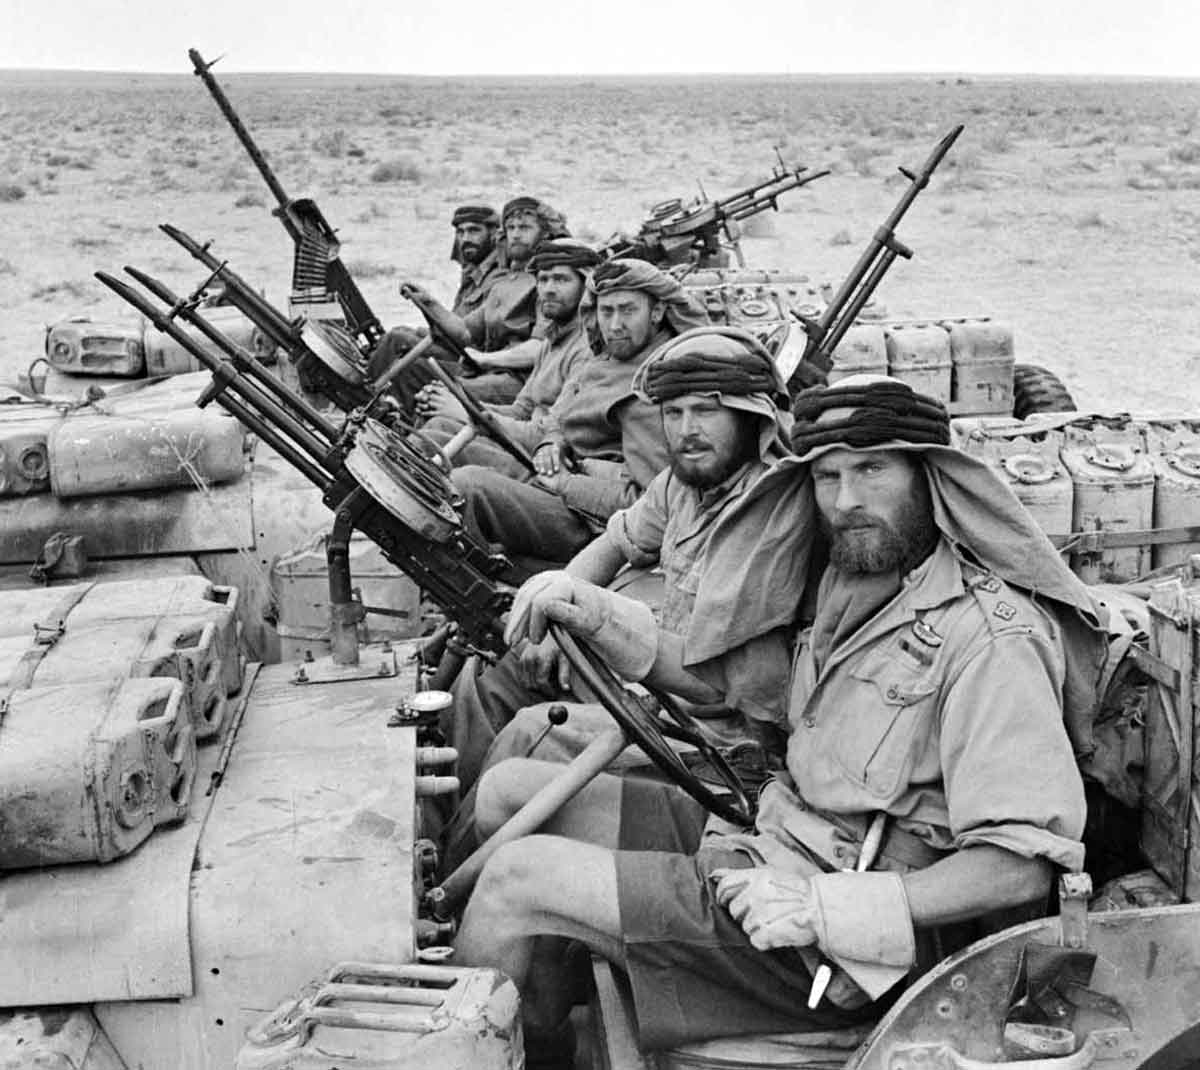
Although the Battle of Kasserine Pass’s impact on the outcome of the North African Campaign was minimal, it signified the first time US troops faced off against Axis forces. The Battle of Kasserine Pass indicated the Axis’s superior experience and equipment. It was a severe wake-up call for the fresh US forces, who were ill-prepared to fight battle-hardened German troops.
9. Operation Strike
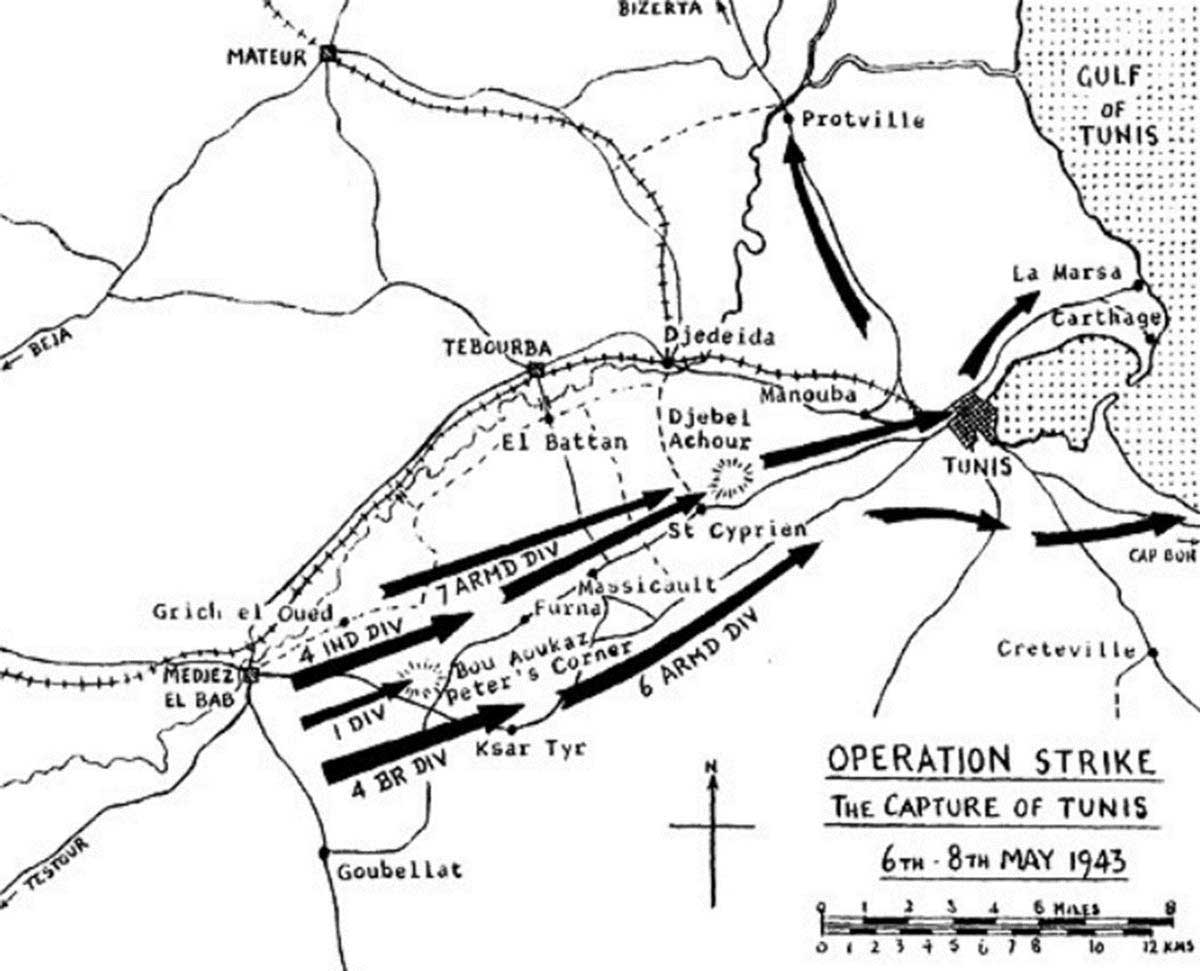
Tunisia remained the Axis forces’ last remaining foothold in North Africa. Operation Strike was devised as the Allies final offensive against their positions. The operation was planned as a thrust to punch through the final Axis lines and capture the city of Tunis.
In the early hours of May 6, 1943, the 4th Indian Division and the 4th British Division advanced on either side of the Medjez-Tunis Road, assaulting key Axis defensive positions. After the enemy had been cleared, the 7th Armored Division would advance down the Tunis Road, while the 6th Armored Division would take a parallel road toward the city.
The armored divisions advanced behind the cover of a devastating artillery bombardment, and as a result, the Allies faced relatively feeble resistance from the remaining Axis forces. By the early evening hours of May 7, Allied forces reached the outskirts of Tunis. They were greeted by a joyous crowd of civilians, who threw flowers in front of the procession and offered wine to the troops.
Tunis had been captured, and the Axis had been defeated across North Africa. For the Allies, this victory was of monumental importance. It allowed them to maintain control of key supply routes while opening the opportunity to invade Italy from the African coast.
The North African Campaign featured numerous battles that were of great significance during the Second World War. Battles fought in the North African desert are notable for their inclusion of a diverse array of combatants from around the world. British, South African, Australian, New Zealand, Indian, and Polish troops fought side by side among the dunes. Ultimately, the North African Campaign played an important role in the outcome of the war. The Allies successfully defeated the Nazi war machine on land for the first time, thus resulting in a significant boost to Allied morale.