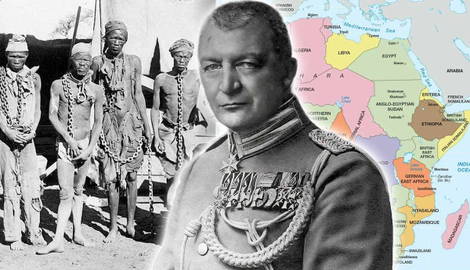

As the First World War engulfed the European continent, the conquered colonies of Europe’s imperial powers were dragged into the conflict. South West Africa, one of the German Empire’s most significant African territories, became the target of an audacious South African attack ordered by the British. However, both the South Africans and the Germans suffered internal revolts that would complicate the ensuing conflict. German forces also repeatedly clashed with Portuguese forces in neighboring Angola.
German South West Africa
German missionaries first visited what is known today as Namibia during the 1840s. Within the next few decades, German merchants established numerous settlements along the coast and placed them under the protection of the expanding German Empire. In 1884, German Chancellor Otto von Bismarck designated the region as a German Protectorate. The following year, when the imperial European powers met in Berlin amid their rapid colonization of the African continent, South West Africa was formally recognized as German territory.
German settlers immigrated to South West Africa in the thousands, enticed by economic opportunities through agriculture and diamond mining.
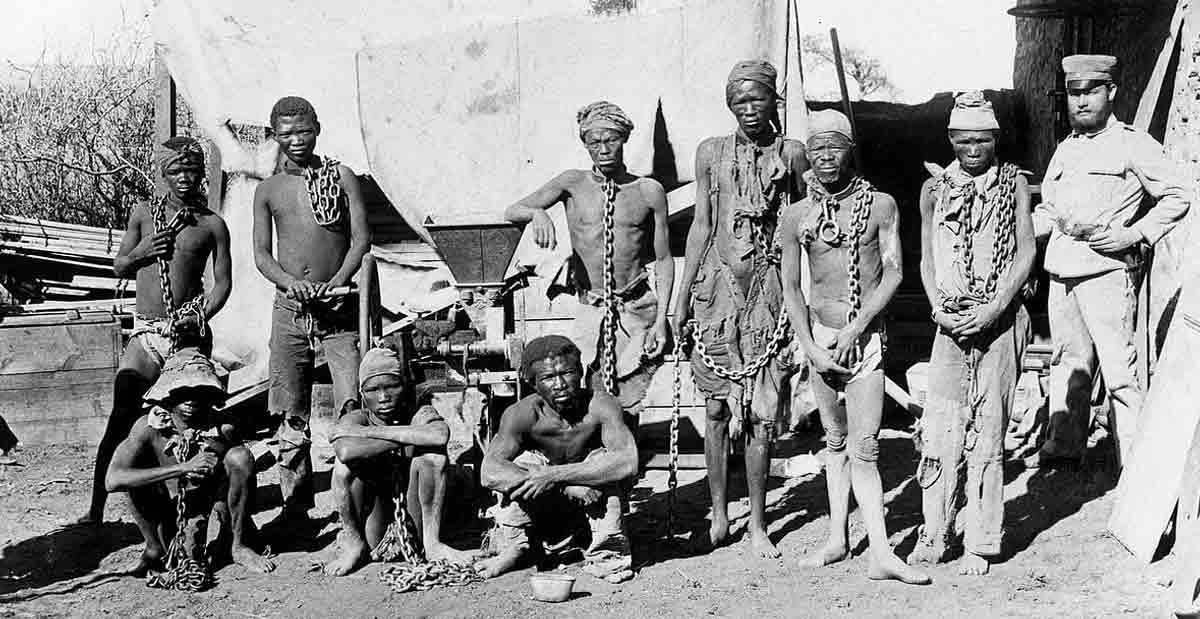
However, while German settlers found prosperity in South West Africa, the region’s native inhabitants suffered greatly under Germany’s imperial regime. The local Nama and Herero peoples launched numerous uprisings against their German colonizers. The largest of which, lasting between 1904 and 1907, killed as many as 100,000 people. After the uprising had been crushed, the remaining Herero and Nama survivors were forced into concentration camps. Executions, human experimentation, beatings, starvation, and rampant disease resulted in the deaths of thousands of people. Officially recognized as a genocide by the United Nations in 1985, some historians have described the genocide of the Herero and Nama people as a precursor to the Holocaust.
The Importance of South West Africa
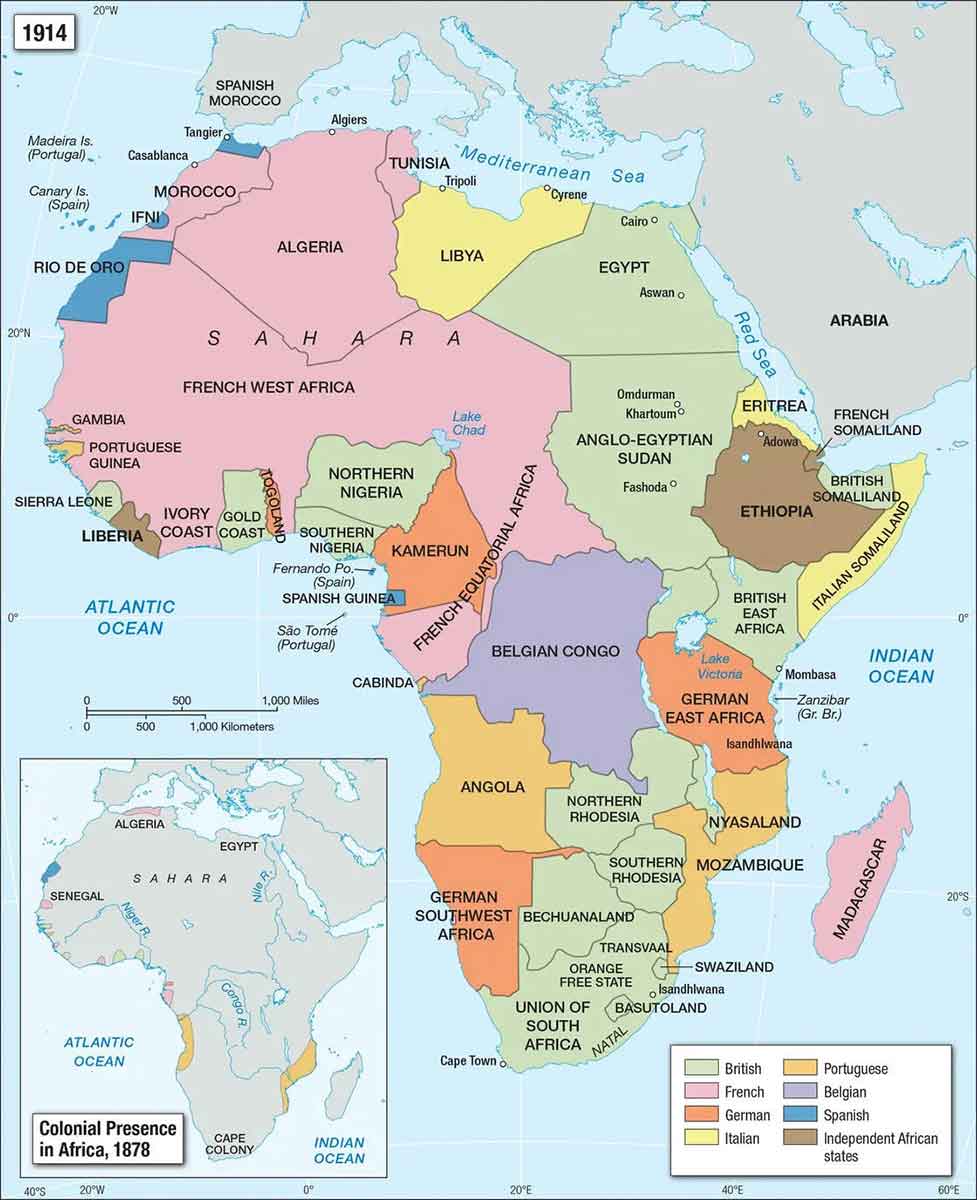
On July 28, 1914, Europe became engulfed by war. However, the European’s imperial appetites resulted in them maintaining considerable territory around the world. These territories would play a considerable role in the subsequent fighting. German colonial possessions were considerably fewer in number than many of the other European powers—its main territories being present-day Tanzania, Cameroon, and, of course, Namibia. In comparison, Great Britain commanded territories around the world, including India, Pakistan, Australia, Canada, New Zealand, Kenya, Egypt, and, notably, South Africa. Due to the close proximity of German South West Africa to South Africa, this region became an important theater of fighting during the war.
A significant force of 5,000 German troops were stationed in South West Africa under the command of Joachim von Heydebreck. These troops had become highly experienced in colonial warfare during the fighting against the Herero and Nama. The British were concerned that this force could be redeployed to France, thus bolstering German forces in continental Europe.
South West Africa also provided an important naval base for German ships and hosted several important radio transmitters, which were used to coordinate attacks on British ships.
Early Fighting
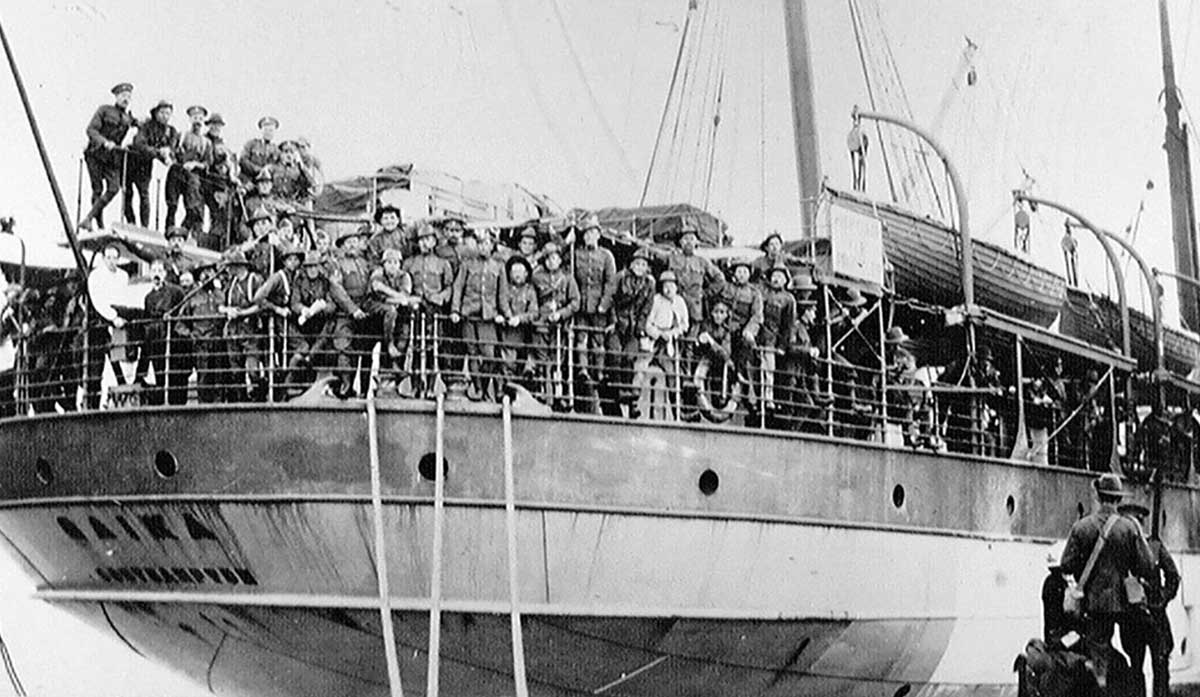
On August 7, 1914, the British government sent a request to South African Prime Minister Louis Botha to invade German South West Africa. Botha agreed, and South African forces began mobilizing along the border.
South Africa devised an invasion plan consisting of three separate columns to attack various regions of the German colony. Firstly, “A Force” would land at Port Nolloth and attack the southern border, “B Force” under the command of Lieutenant-Colonel Salomon Maritz, would invade from the east, and “C Force” under Colonel PS Beves would land on the west coast at Luderitz Bay with the support of the Royal Navy.
The three-pronged attack was initially successful, and South African forces advanced quickly. Key objectives were swiftly captured, with the Port of Luderitz being occupied on September 18.
However, South Africa’s progress was checked when the two forces met at the town of Sandfontein. The crucial supply point was first captured by A Force in mid-September 1914. From there, South African forces dispersed to capture nearby targets, leaving Sandfontein vulnerable. German forces launched a surprise attack against the greatly outnumbered South African garrison defending the town. Within hours the South Africans had surrendered.
The Maritz Revolt
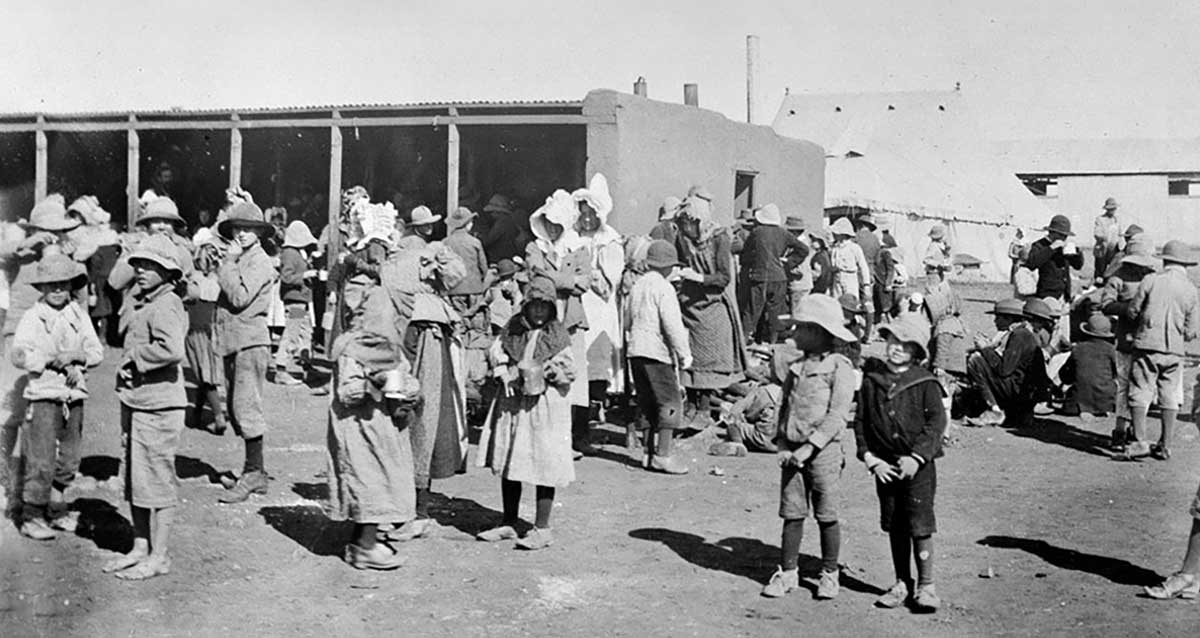
The invasion of German South West Africa was met with great controversy and skepticism within South Africa, especially among the country’s Boer population. Between 1899 and 1902, the two Boer republics, the South African Republic and the Orange Free State, fought a devastating war against the British, which resulted in the Boer republics being absorbed into the British Empire.
As a result, there was significant animosity between the Boers and their British imperial overlords. There was also a substantial number of Boers, who had fought against the British only a decade earlier, who were now part of the South African army. Understandably, these men were staunchly reluctant to fight on the orders of the British.
The Commander of B Force, Lieutenant-Colonel Salomon Maritz, revolted against South Africa and allied himself with the Germans along with his men. His actions would inspire a further 12,000 Boers to rebel against the British.
Martial law was declared by the South African government on October 12, 1914, as Boer forces occupied several towns and attempted to declare an independent Boer republic. Prime Minister Louis Botha immediately ceased the ongoing operation in German South West Africa and mustered a force of approximately 32,000 men to quash Maritz’s revolt.
The much larger government force quickly pushed back the Boers and, on January 24, were devastatingly repelled after attacking the town of Upington. The Boer forces officially surrendered on February 2, 1915.
Second South African Invasion
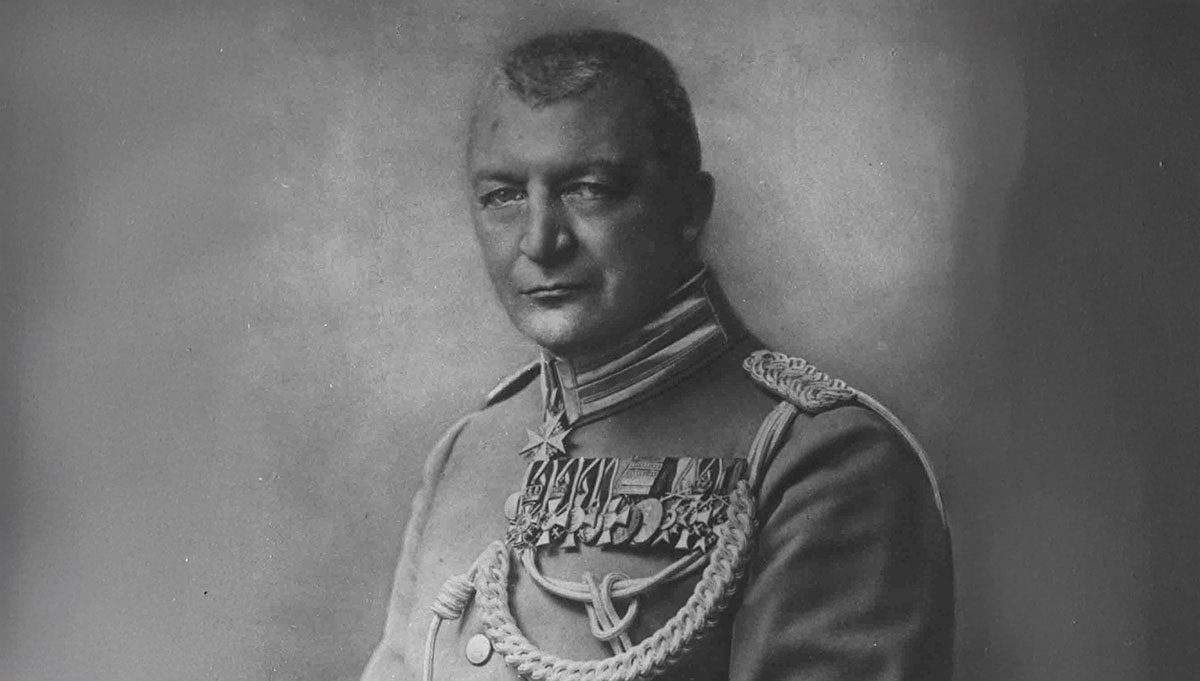
With the Maritz Revolt crushed, Louis Botha could now reorient his focus back to German South West Africa. However, this time, Botha ensured that only trusted, loyal officers were appointed to South Africa’s military leadership. A new attack plan was formed, this time intending for a more rapid advance on the capital, Windhoek.
Botha himself assumed command of the invasion, with the South African army split into four separate forces. Each force was tasked with attacking the German colony at different points along its border.
A few months prior to the second invasion, the German Commander Heydebreck died suddenly at the age of 53. His replacement, Victor Franke, greatly underestimated the capabilities of the South African forces. As a result, the South Africans made swift advances into German territory by March of 1915. By the end of the month, Botha and his force of 20,000 men had captured Riet and Jakkalswater. The next month, they captured the town of Kalkfontein in the south.
Baster Revolt
As the South Africans advanced further and further into their territory, the German colonials were faced with an internal revolt.
The Baster people are a mixed-race ethnic group that continues to inhabit present-day Namibia. The term “Baster” is derived from the Dutch word for “bastard.” From the onset of Germany’s occupation of the region, the Basters maintained relatively cordial relations with the colonials. Notably, a small contingent of Basters fought alongside the German colonial army and participated in the Herero and Nama genocide.
Upon the commencement of the First World War, the Germans attempted to mobilize all able-bodied Basters into their armed forces. However, this was met with great resistance from the Basters, who were reluctant to fight against the South Africans, with whom many shared ethnic and cultural similarities. As such, the Germans instead ordered Basters to guard South African prisoners of war.
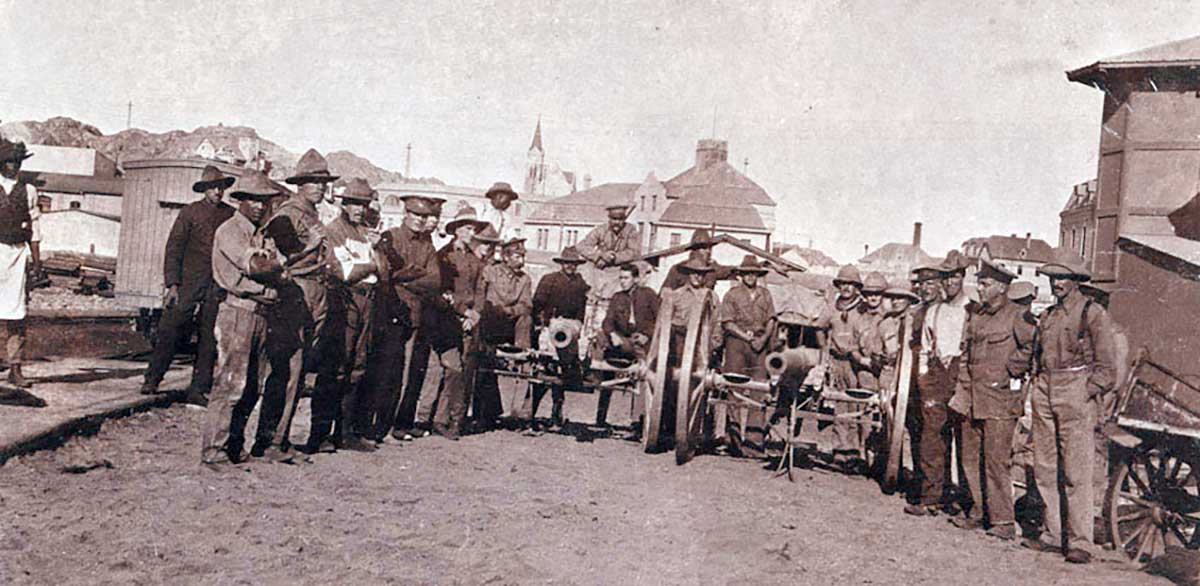
The captain of the Baster forces, Cornelius Van Wyk, reportedly met Louis Botha of South Africa, with whom the Basters agreed to terms. They were to remain neutral against South Africa in return for gaining recognition and rights should South Africa take over the territory.
As the South Africans advanced, the Germans ordered the Basters and their prisoners of war to move further north. However, the Basters refused, and many defected against the Germans, with some even releasing their South African prisoners.
In retaliation, the Germans stated that the protection treaty signed between themselves and the Basters was now void and that the Basters were now to be considered hostile to Germany. The Basters offered to support South Africa militarily, but Louis Botha refused, stating that the fighting against Germany was a “white man’s war.”
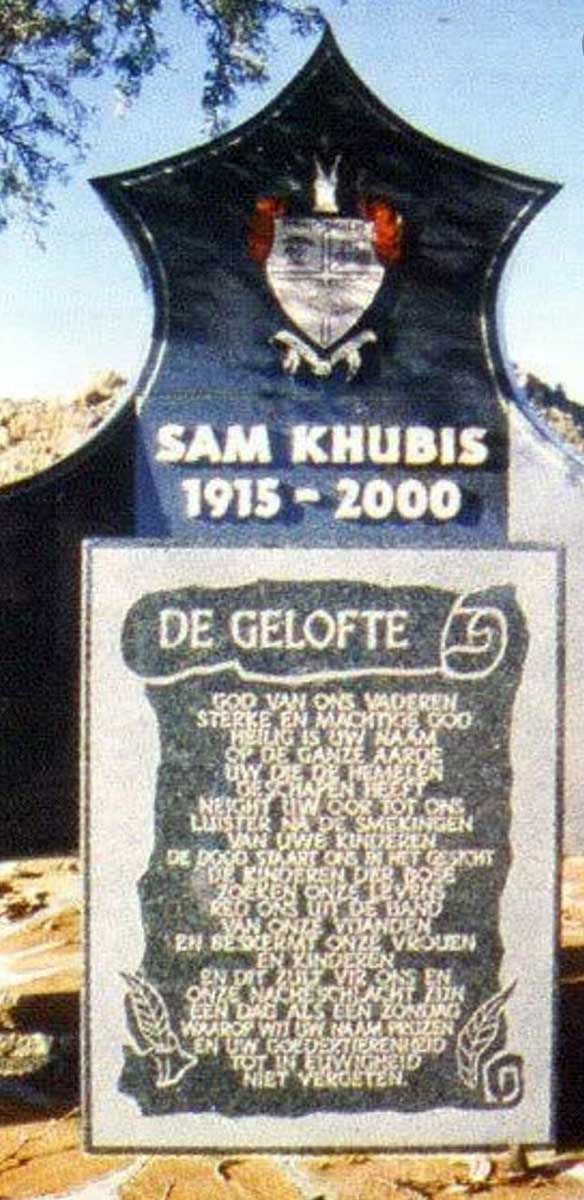
The Baster forces regrouped at their final stronghold at Sam Khubis. On May 8, 1915, the stronghold was attacked by German colonial forces. However, the 800 Basters astoundingly repelled the colonialists. Every year, the Basters commemorate the Battle of Sam Khubis with a festival.
German Clashes With the Portuguese
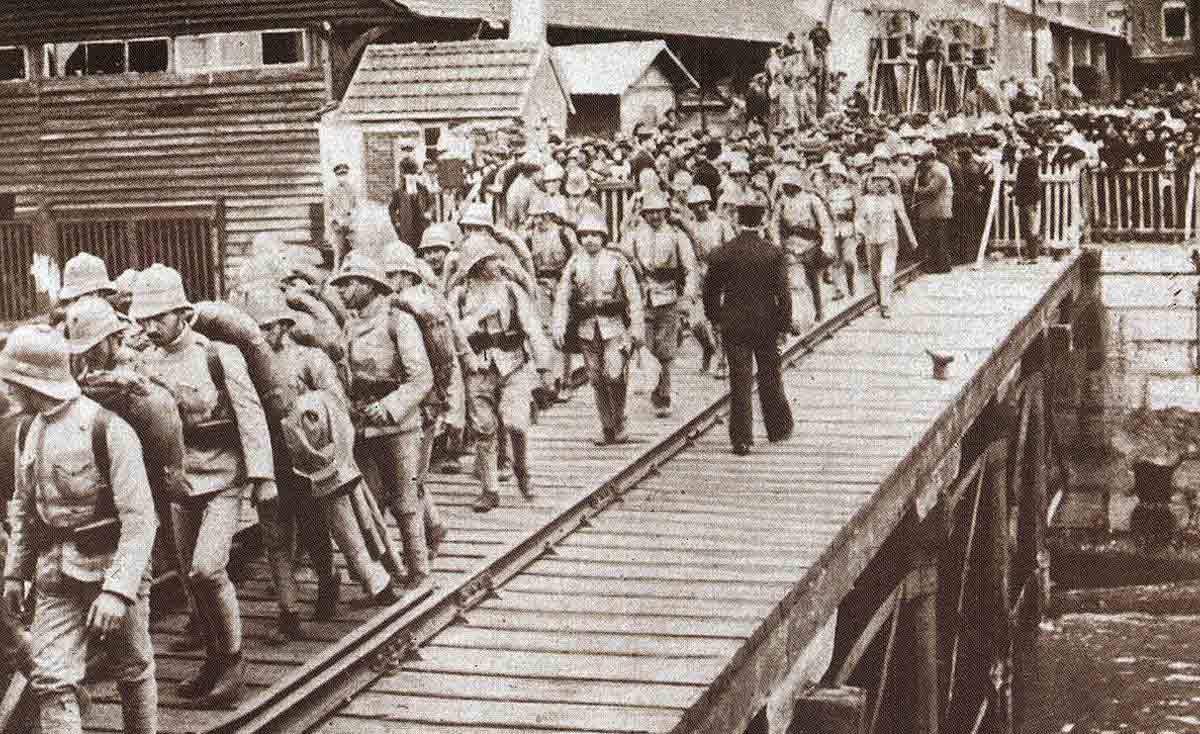
While most of the fighting in South West Africa occurred between Germany and South Africa, Germany also engaged with Portuguese forces along its colony’s northern border with Angola, which was a Portuguese possession. However, Germany had long considered invading the territory and adding it to its colonial possessions in Africa.
Before Germany officially declared war on Portugal, which would later happen in 1916, German and Portuguese forces were involved in numerous small border clashes.
The first notable clash occurred in October 1914, when a column of German troops crossed into Portuguese territory. The column was attacked by Portuguese forces, resulting in the deaths of three German soldiers. In response, German forces attacked a fort in the town of Cuangar, killing all of the Portuguese soldiers stationed there.
The most significant of these border clashes occurred on December 18, 1915, when a force of 2,000 German soldiers attacked Portuguese positions at the town of Naulila. After losing approximately 70 men, the Portuguese were forced to retreat further north.
South African Victory
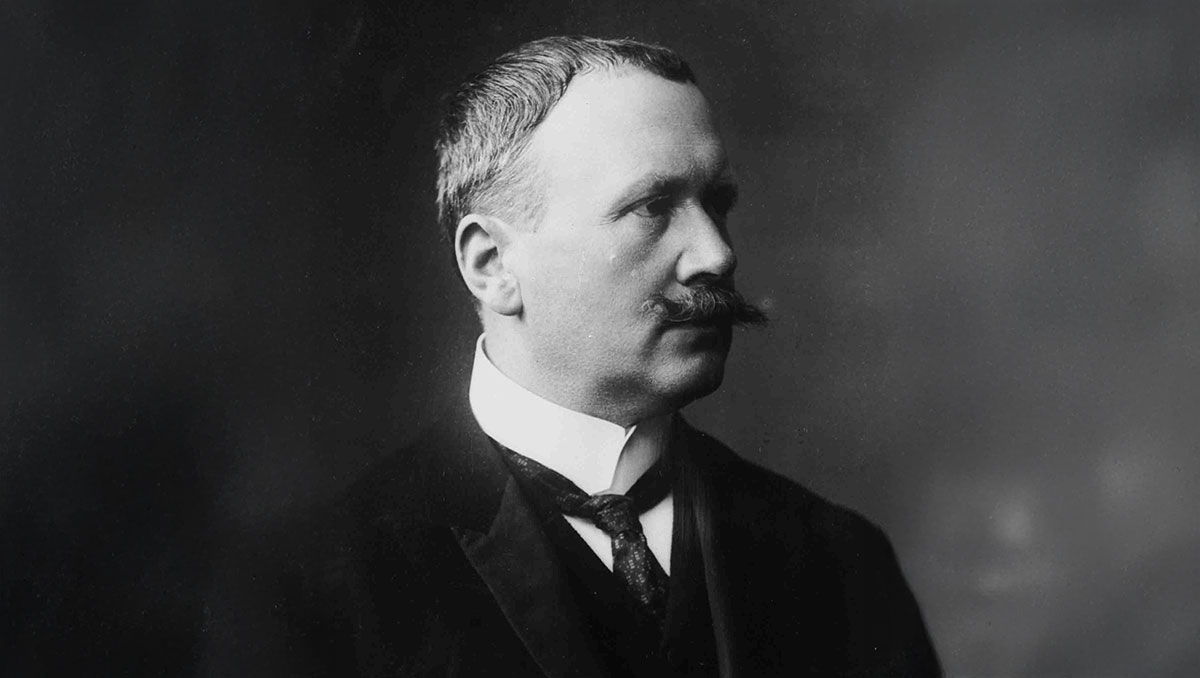
By May 1915, South Africa had continued to make considerable inroads into German territory. On May 21, 1915, the capital, Windhoek, was successfully captured by South Africa, who faced little resistance from the Germans. The German colonial Governor of South West Africa, Theodor Seitz, offered an armistice to Botha. However, the South African Prime Minister ambitiously wanted to incorporate the entirety of the German territory under South African control. Thus, the armistice agreement was ignored.
South African forces advanced further north until, on July 9, 1915, German forces officially surrendered. Responsibility for the administration of German South West Africa fell to South Africa. In 1920, the newly founded League of Nations granted South Africa an official mandate to govern the territory. South West Africa would remain under South Africa’s governance until March 21, 1990, when the territory became the independent nation of Namibia.
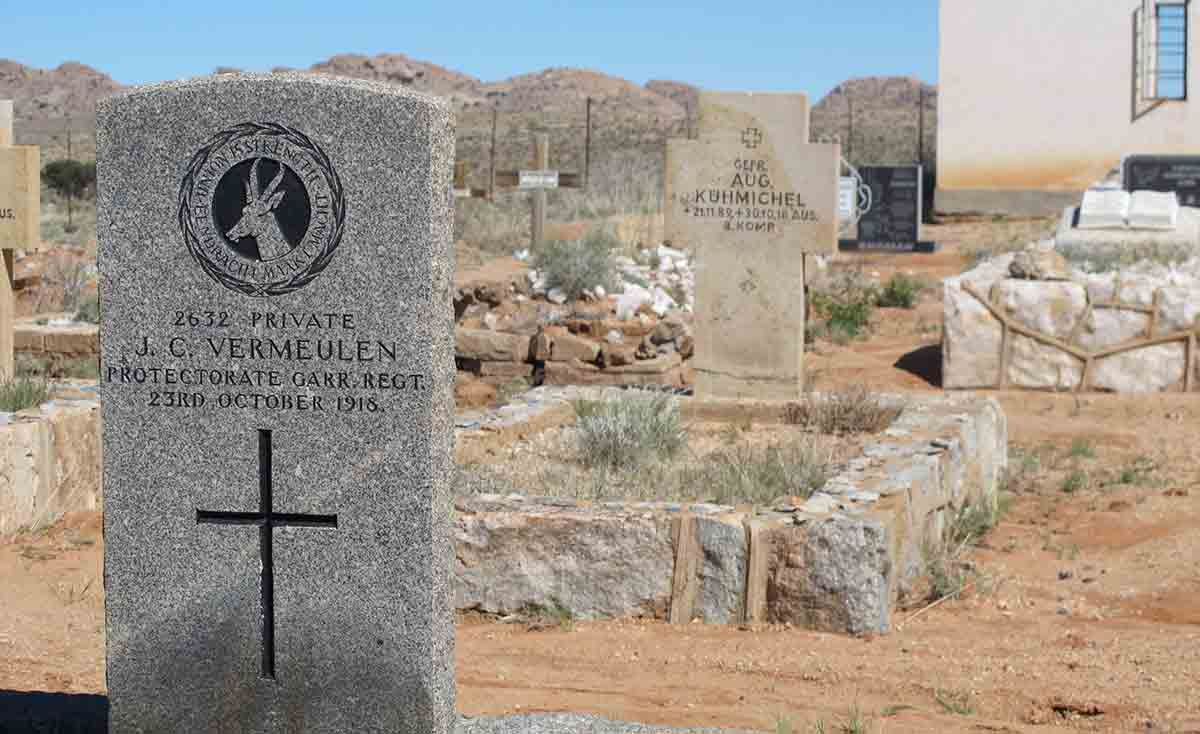
Though South Africa’s victory over Germany in South West Africa had relatively little impact on the overall outcome of the Great War, it did have a major influence on the future of the region. Notably, the incorporation of South West Africa into South Africa would lead to the South African Border War, a 23-year-long conflict between South Africa and the South West Africa People’s Organisation (SWAPO) independence movement. This conflict would also closely overlap with the Angolan Civil War, in which South Africa also played a considerable role.